WooCommerce Waitlist and Back in Stock Notifier allows you to display a sign-up form for products that are out of stock. The user can add their email address, an optional comment, and be added to a list. When the product (or variation) is returned to stock, the user will receive an email. It’s also possible to display a back-in-stock date for products or variations that are currently out of stock.
General settings
Most of you plugin settings and configurations will be under WooCommerce > Settings > Waitlist > General

- Enable waitlists: Check this to display a waitlist form on all products and variations that are out of stock
- Enable back-in-stock date: Check this to display a back-in-stock date for any products or variations that are out of stock. You can set the back-in-stock date in the product settings
- Enable Notes field: Check this to include a ‘Notes’ field in the waitlist form
reCAPTCHA Settings
You can add a reCAPTCHA v3 field to the waitlist form to prevent spam.
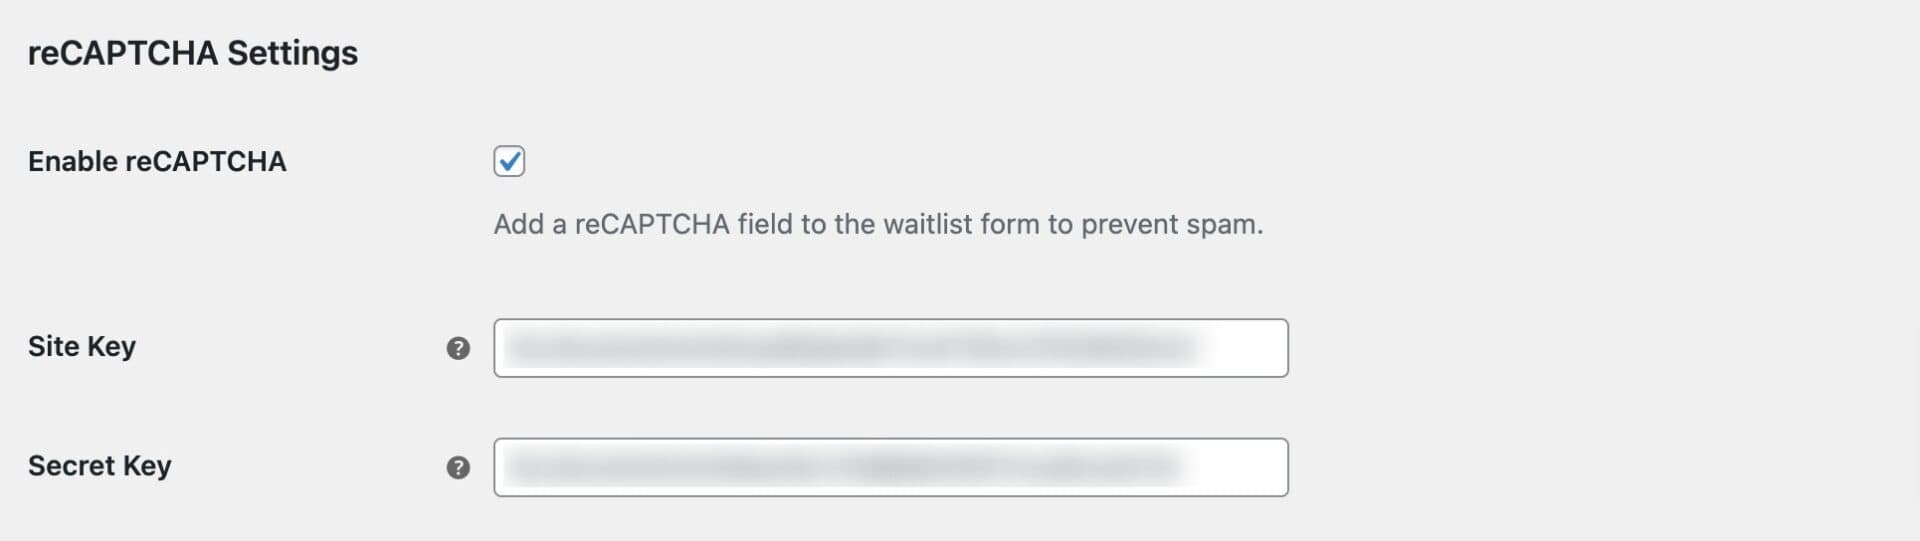
- Enable reCAPTCHA: Check this to use reCAPTCHA v3 on the waitlist forms
- Site Key: Enter your site key here
- Secret Key: Enter your secret key here
How to obtain your reCAPTCHA keys
To obtain your keys, you first need to register a new site with Google reCAPTCHA. You’ll see the following settings.
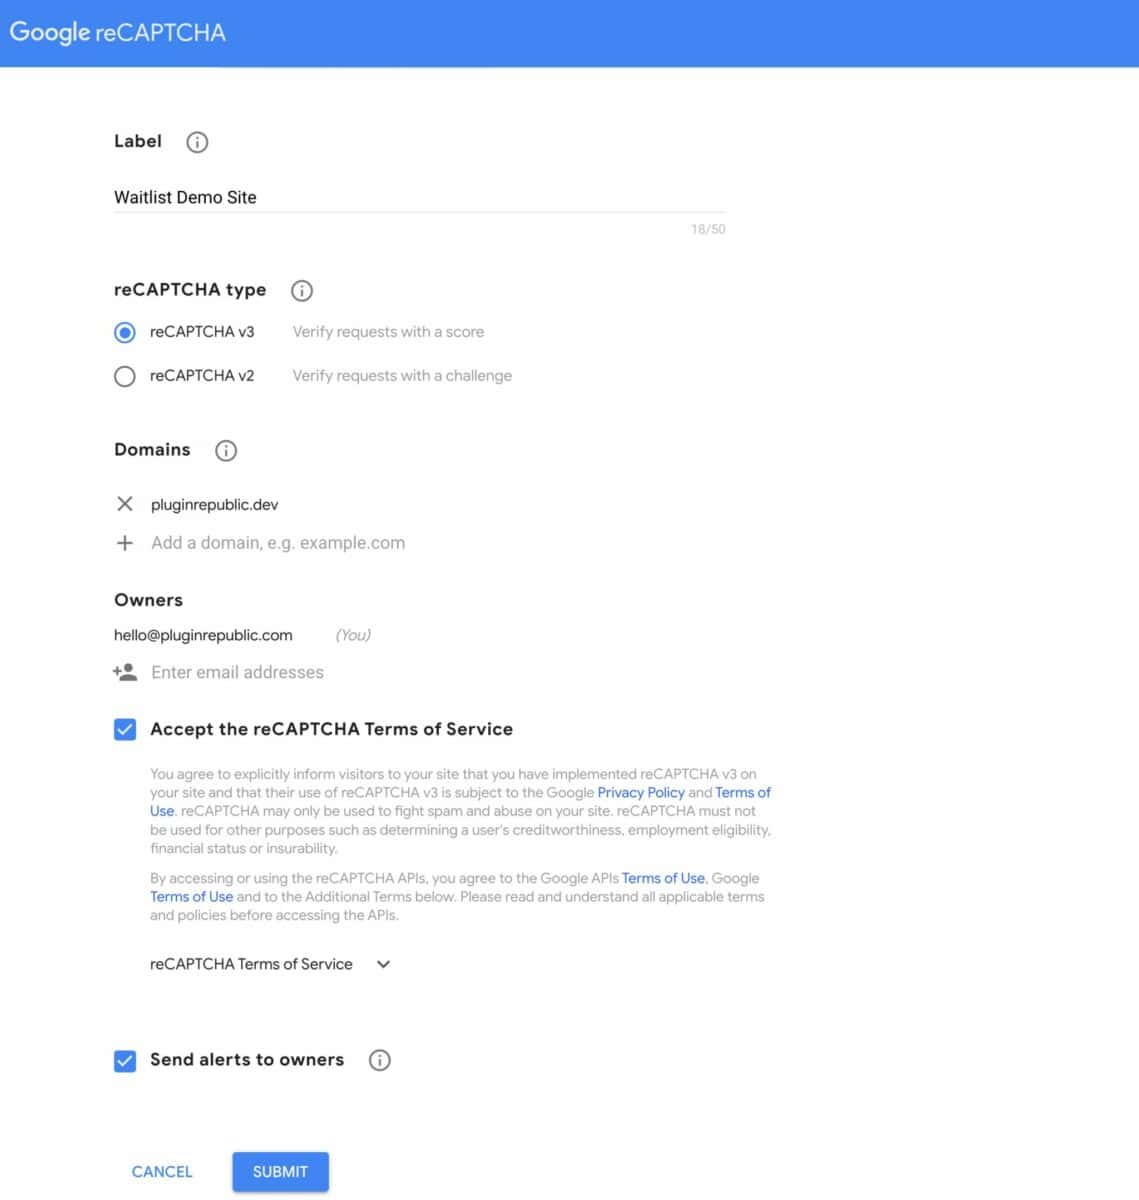
- Enter a label – this is for your own reference so make it something meaningful to you
- Choose ‘reCAPTCHA v3’ in the ‘reCAPTCHA type’ field
- Enter the domain of your website where you’ll be using the Waitlist plugin
- Accept the terms of service
- Click ‘Submit’
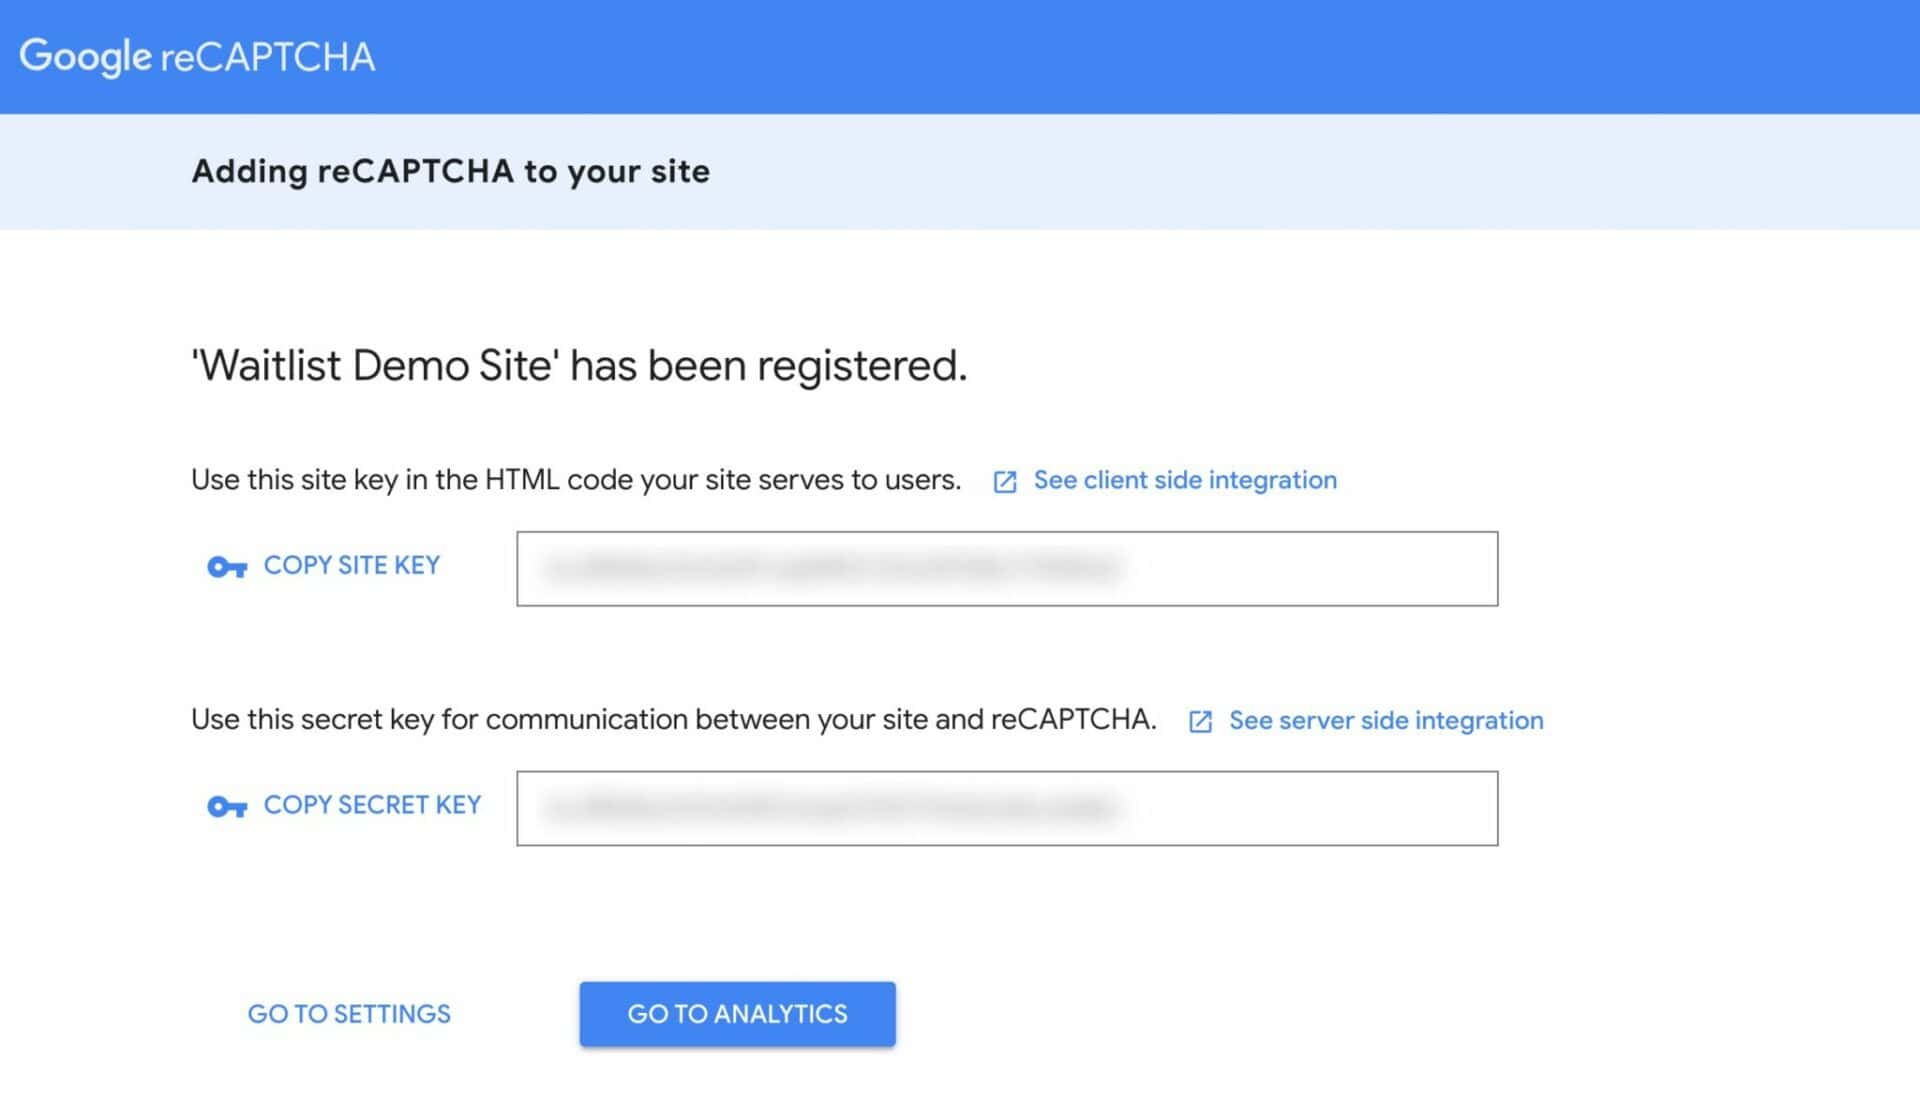
- You’ll be directed to a new screen where you can copy your site key and secret key
Messages
Here, you can edit the messages shown to customers when they are interacting with the waitlist form.
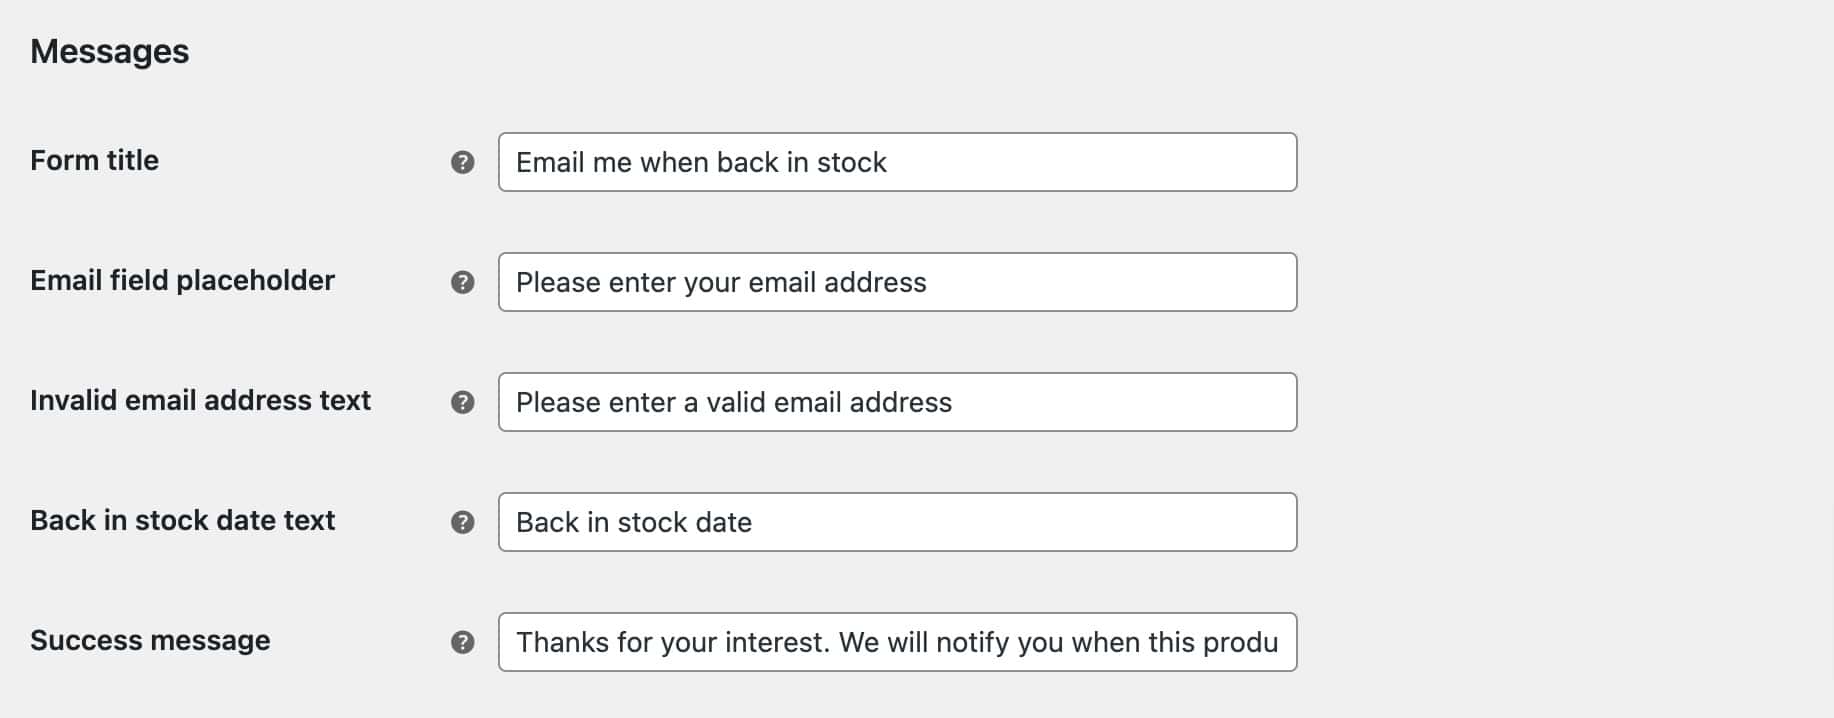
- Form title: The title to use for the waitlist form
- Email field placeholder: Text to show in the email field
- Invalid email address text: The message shown to customers if they enter an invalid email
- Back in stock date text: The label for the expected back in stock date
- Success message: The success message shown to customers after they fill the form
Customize your email notifications
Here’s the default email notification email sent to the customer when a product is back in stock:

To customize, or edit the email content, go to WooCommerce > Settings > Emails > Waitlist Notification > Manage.

You can use the following tags in the content:
{product_name}: This will be replaced by the name of the product. If the product is a variation, it will include the attributes as well{product_link}: This will be replaced by a live link to the product page. If the product is a variation, it will
If you need further customization, you can copy the email template to your theme and customize it further.
Product level settings
You can override any of the global settings for individual products. In the product edit screen click the ‘Waitlist’ tab in the ‘Product data’ section.
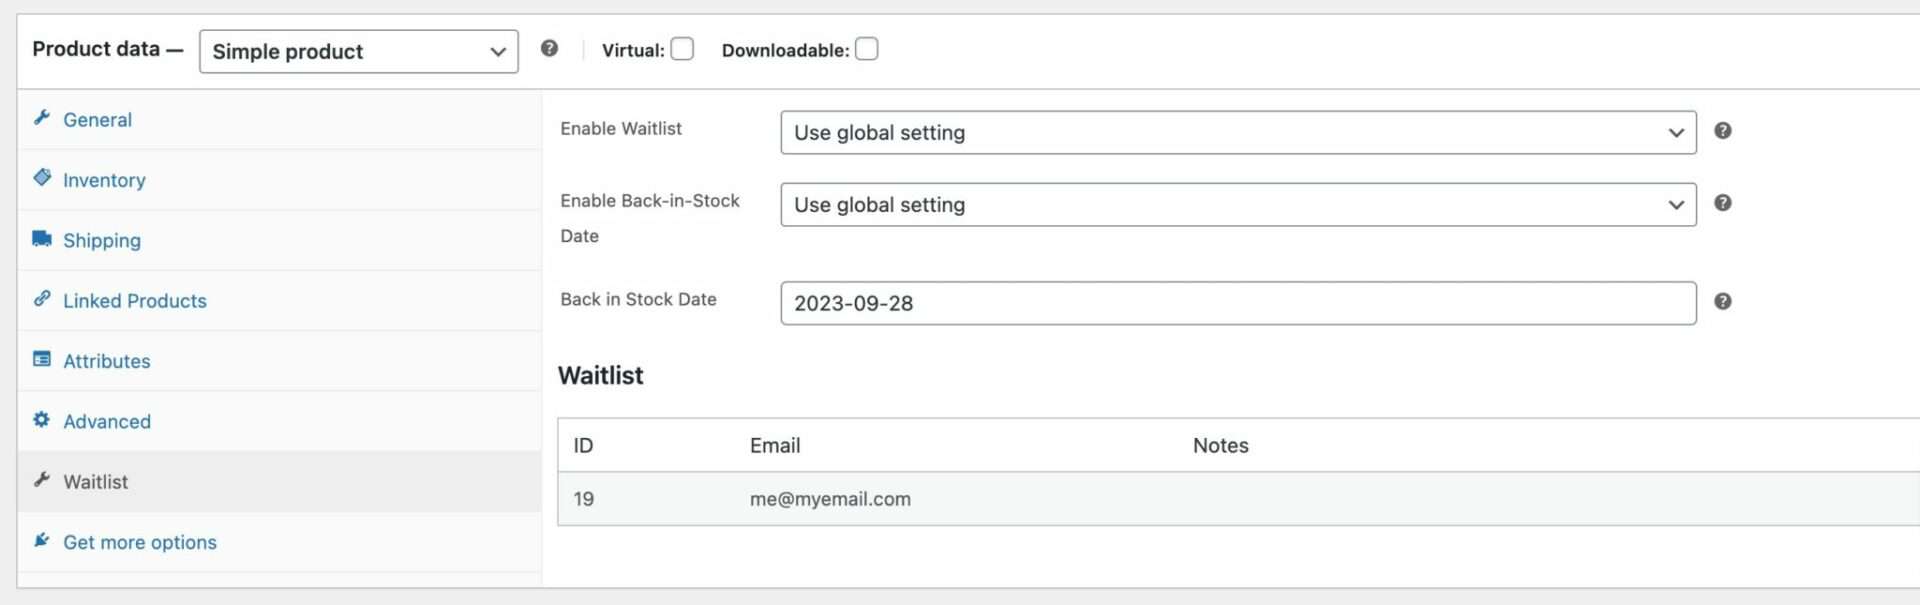
- Enable Waitlist: set whether to enable the waitlist for this product only
- Enable Back-in-Stock Date: set whether to enable the back in stock date for this product only
- Back in Stock Date: set the back in stock date. Note that you can set the back in stock date for variations in the ‘Variations’ tab
Waitlist
You can view all emails that have signed up for the waitlist on this product here.
Where to view waitlists
You can view all waitlists by product in WooCommerce > Waitlists.