WooCommerce Wishlists Ultimate lets you add a ‘wishlist’ feature to your WooCommerce store. Customers will be able to add products to their wishlist and return to it later to make a purchase.
General settings
Go to WooCommerce > Settings > Wishlists. On the General tab, you can enter the following rules:

- Enable wishlists: Enable the wishlist functionality on your store
- Allow multiple wishlists: Allow users to create multiple wishlists. By default, users can only create a single wishlist
- Default wishlist name: This is the default name of the customer’s wishlist, used when creating a new wishlist
- Display as: You can choose whether to display the wishlist functionality as a button, Icon only or as a link.
- Where: You can either display the button/link/icon ‘Below add to cart button’ or ‘Next to add to cart button’.
- Default privacy: You have three privacy settings:
Private – only the user can view the wishlist
Public – anyone can view the wishlist
Shared – only users with the URL can view the wishlist
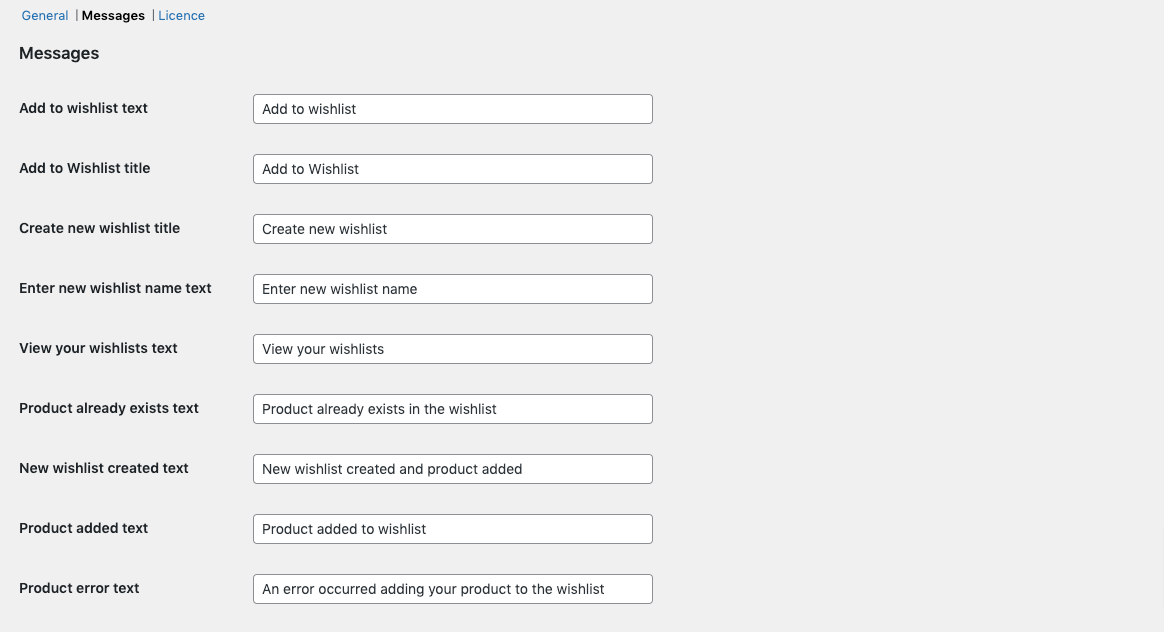
Message settings
Wishlists Ultimate allows you to configure the messages displayed by the plugin.
Go to WooCommerce > Settings > Wishlists > Messages to update messages and labels.
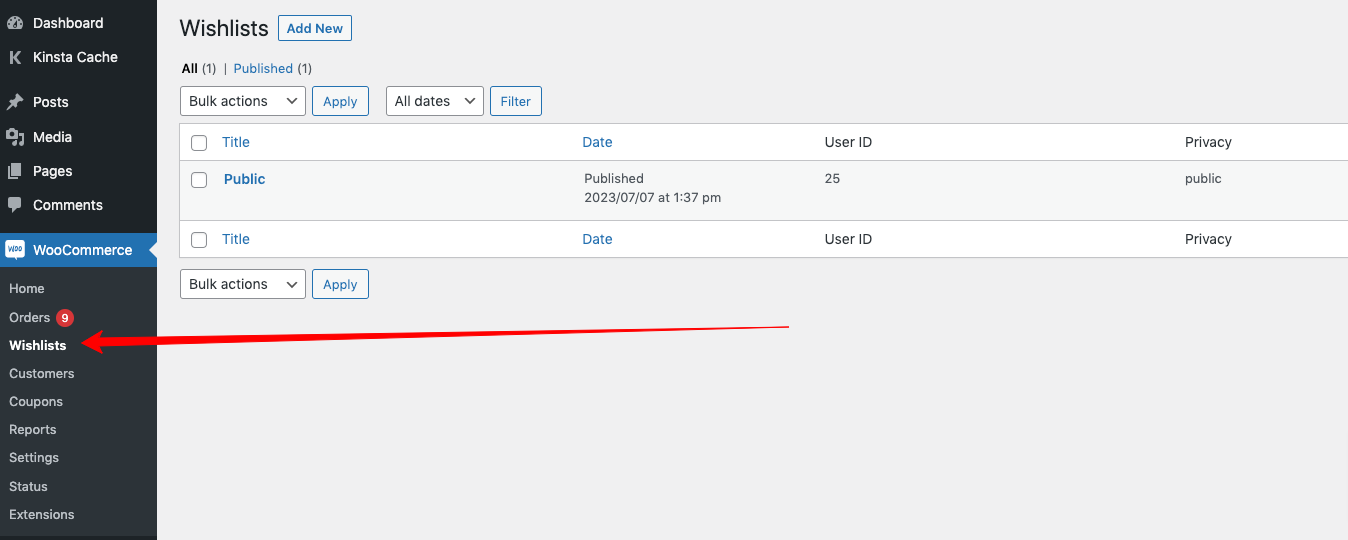
Viewing wishlists
In the WordPress dashboard, you can access the wishlist, by going to WooCommerce > Wishlists. You’ll see a list of all wishlists created on the site.
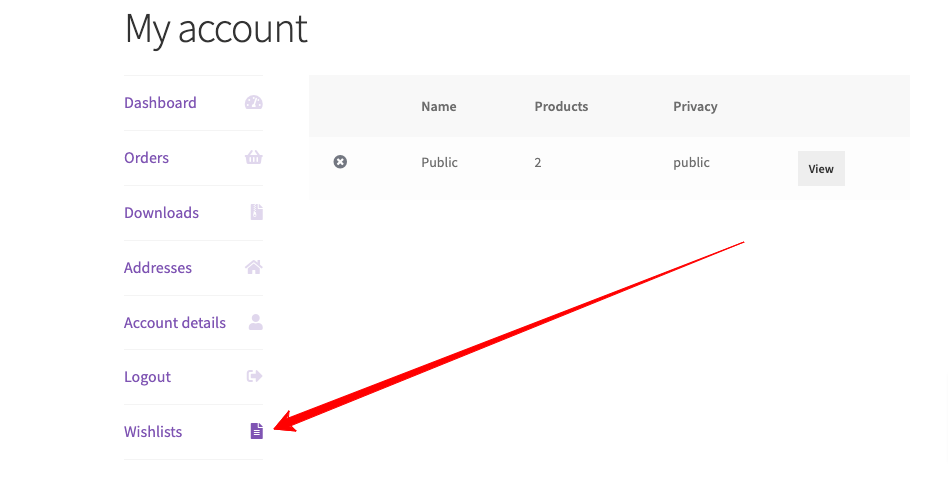
On the frontend, users can access their wishlist from their account page.